
How to change image style
In this guide, you will learn how to modify the style of an image element.
Step 1 - open editor
Section titled “Step 1 - open editor”Open the “Image Settings” editor.
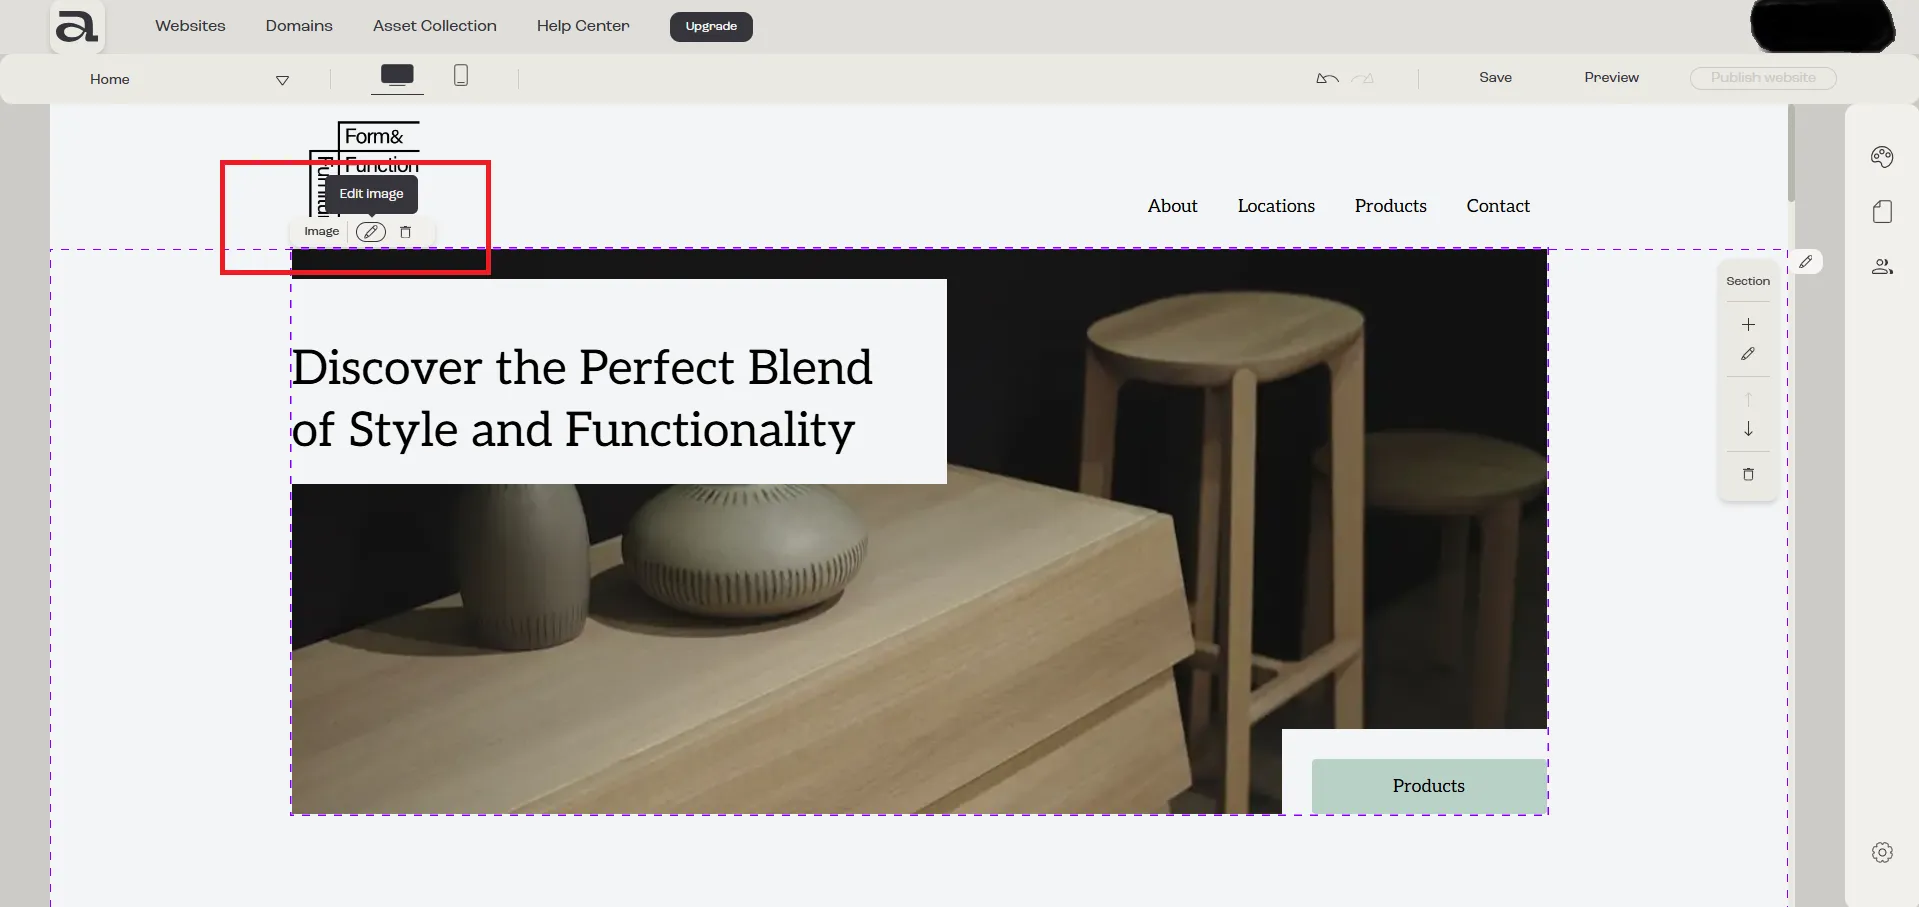
Click “Edit Image” on the hover menu or double-click on the “Image” element you want to customize.
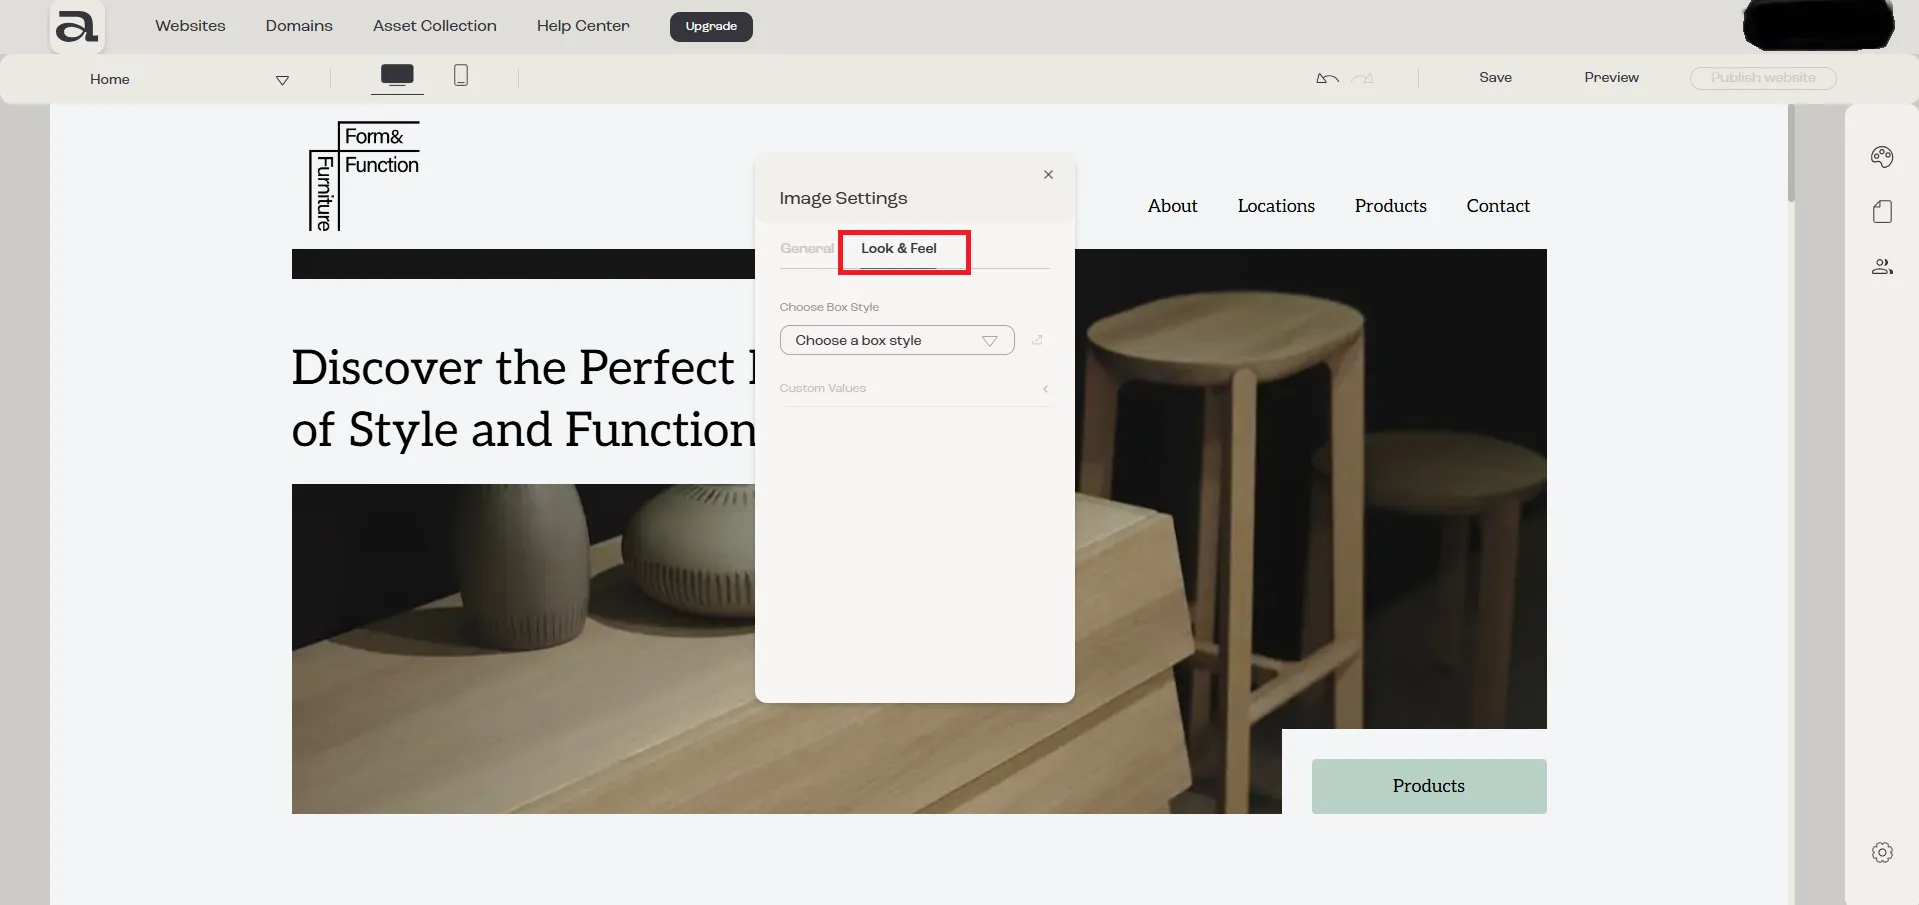
In the “Image Settings” editor, there are two customization categories: “General” and “Look & Feel”.
The settings we are interested in are located under the “Look & Feel” tab.
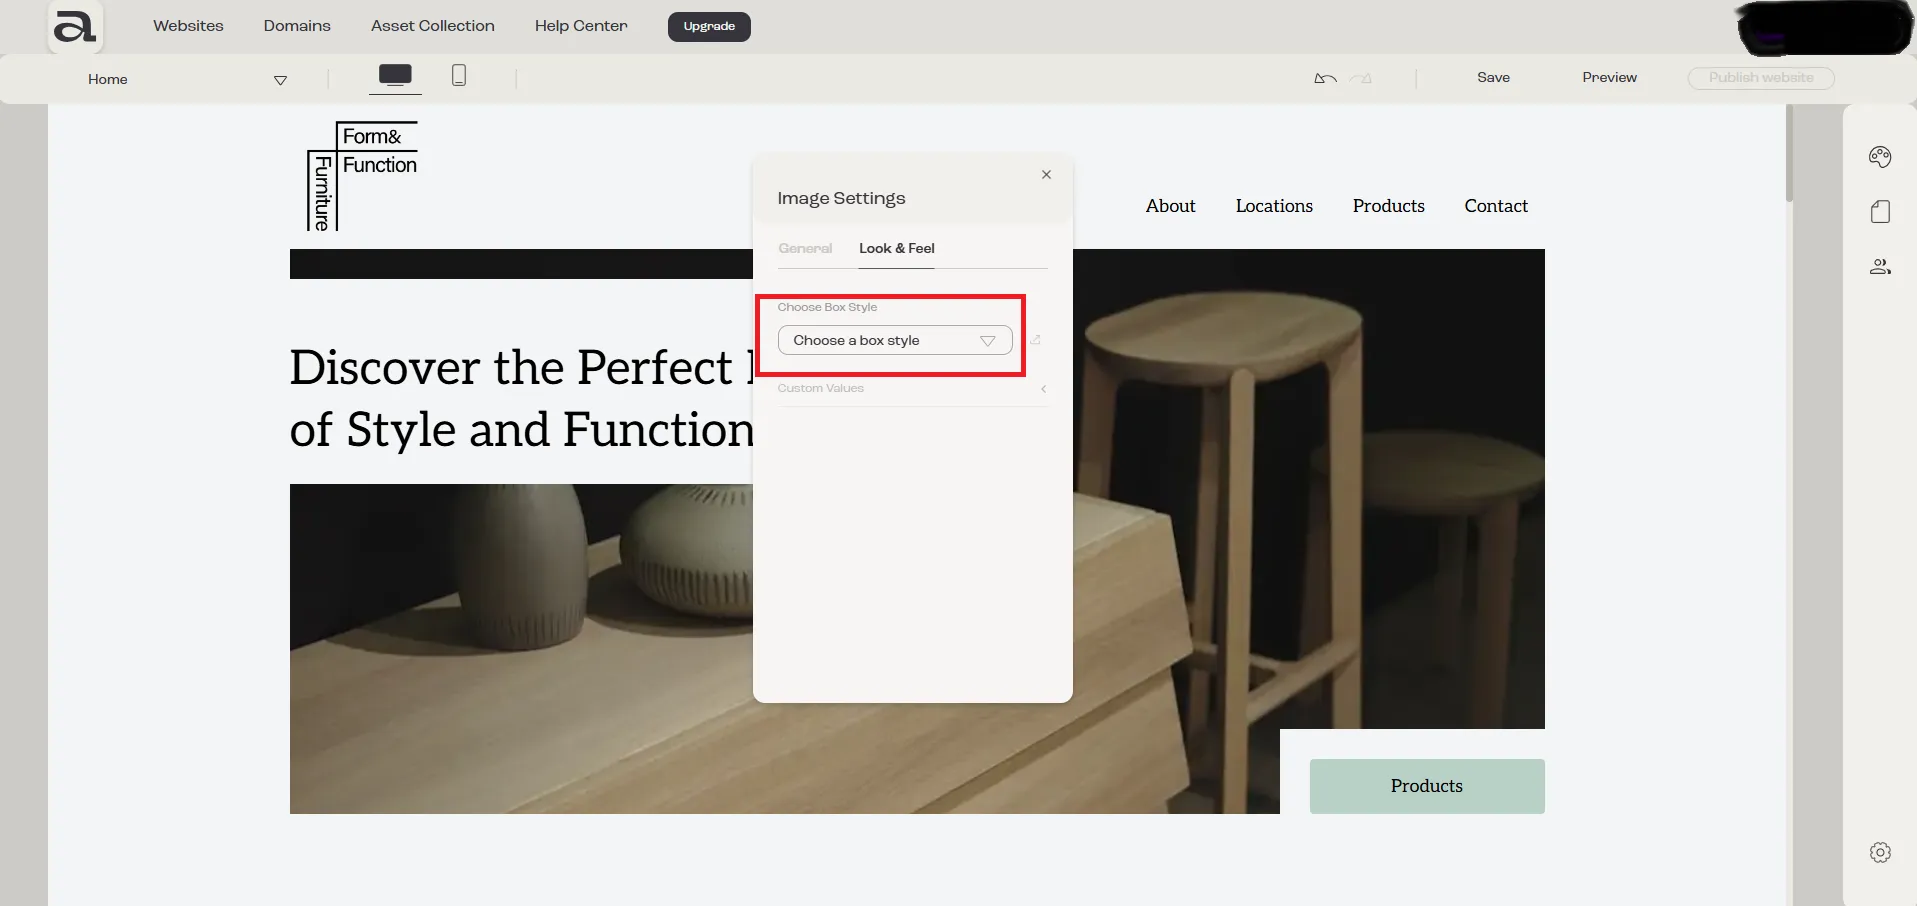
In the Image Settings menu, you will see a “Choose Box Style” dropdown.
Step 2 - change style
Section titled “Step 2 - change style”Click on the “Choose Box Style” dropdown.
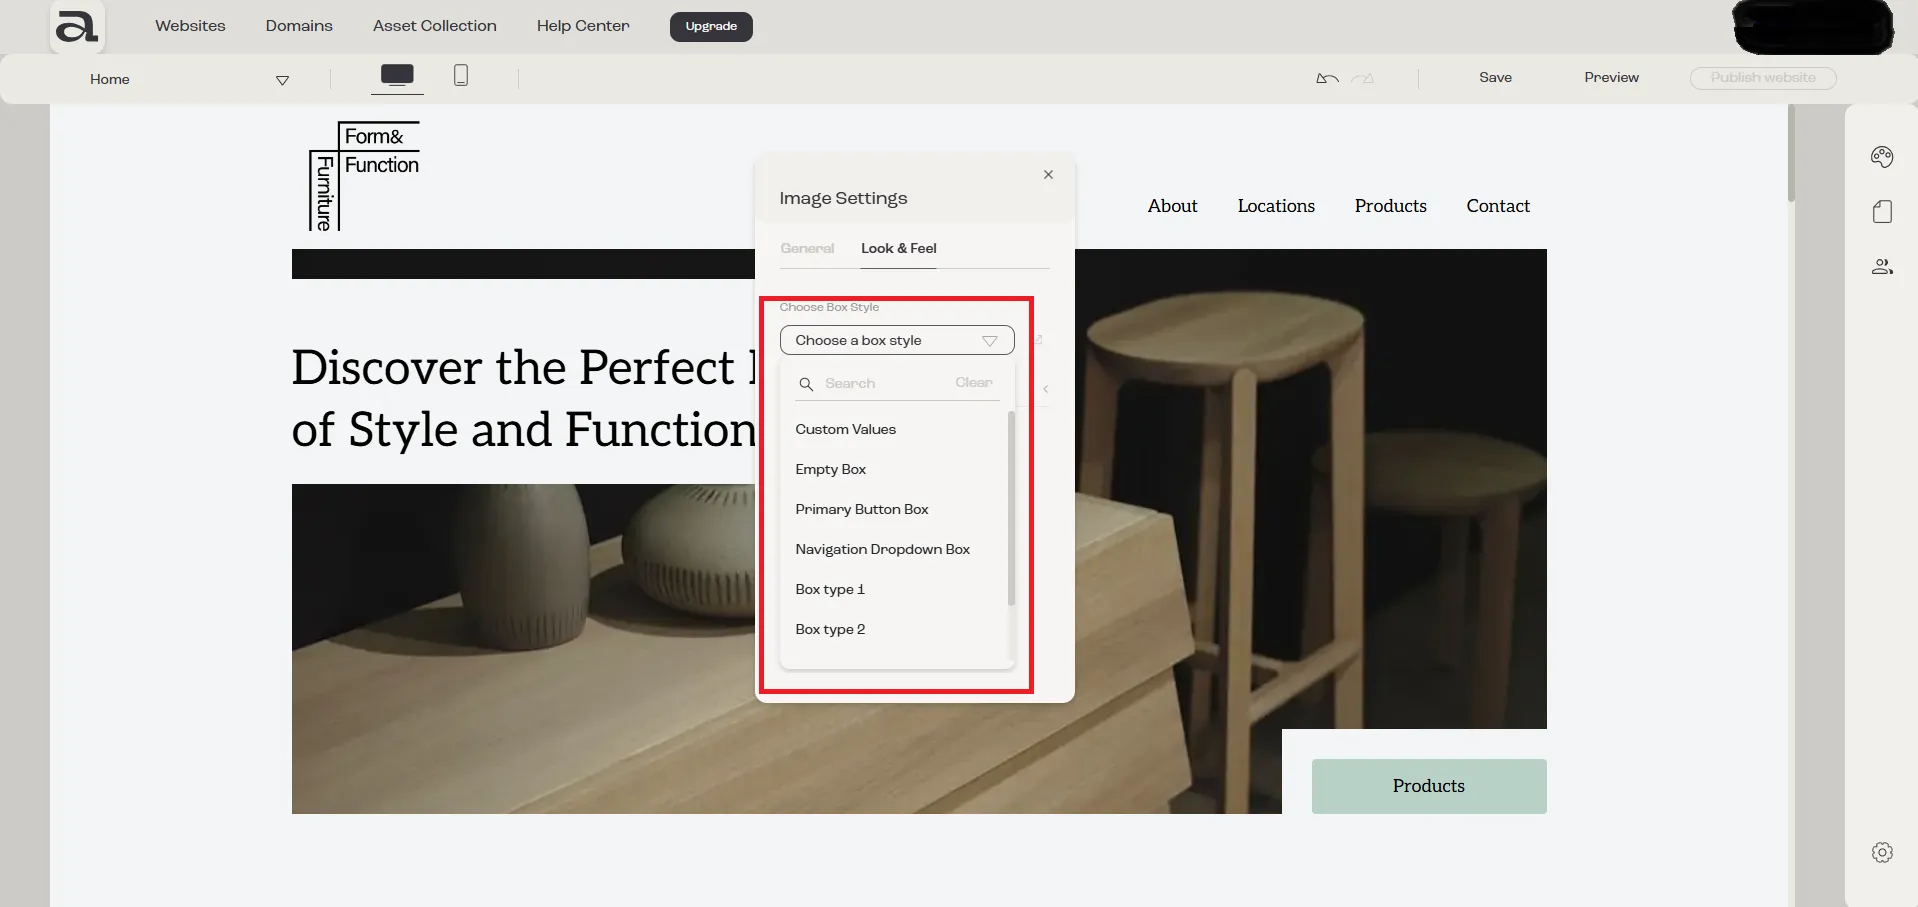
In this dropdown, you have all the predefined styles in “Website Look & Feel -> Box Styles” as well as a “Custom Values” option. You can select one of the predefined styles or customize the box style by choosing “Custom Values” to style it exactly as you like.
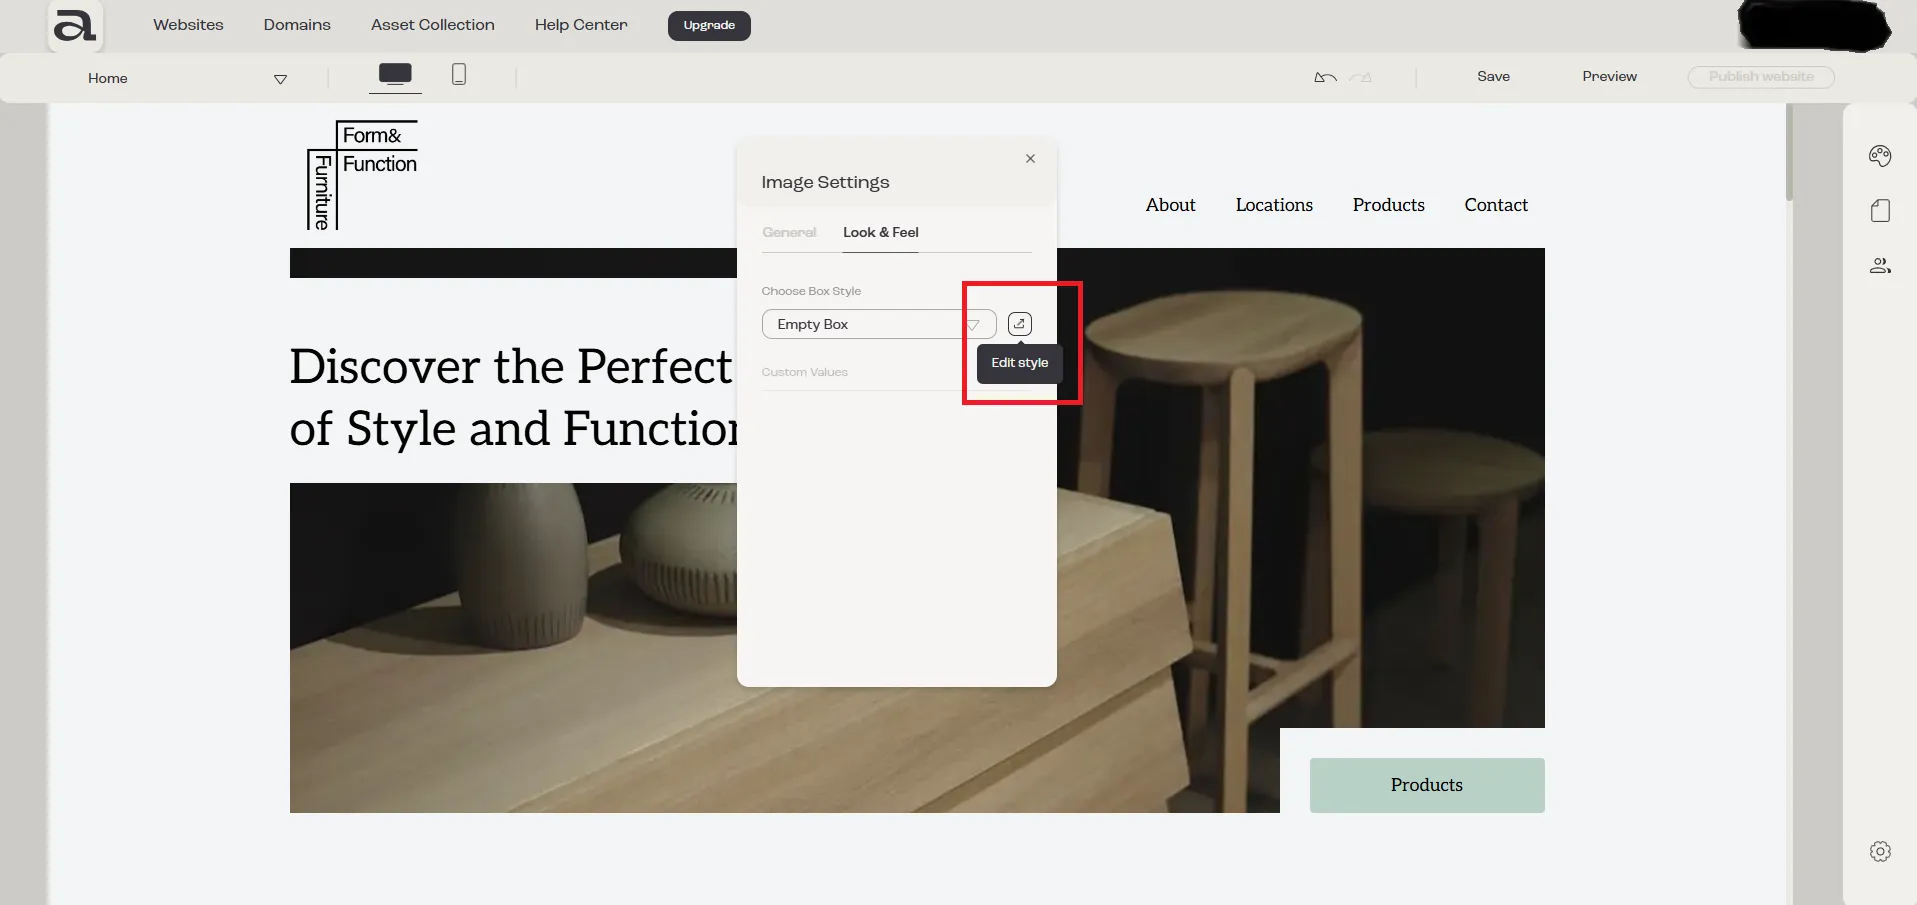
If you want to edit an existing style or create your own style, click on the “Edit Style” button which will open the “Website Look & Feel -> Box Styles” sidebar.