
How to use element groups in website editing
In this tutorial, you’ll learn how to use element groups when editing your website.
Step 1 - Create Group
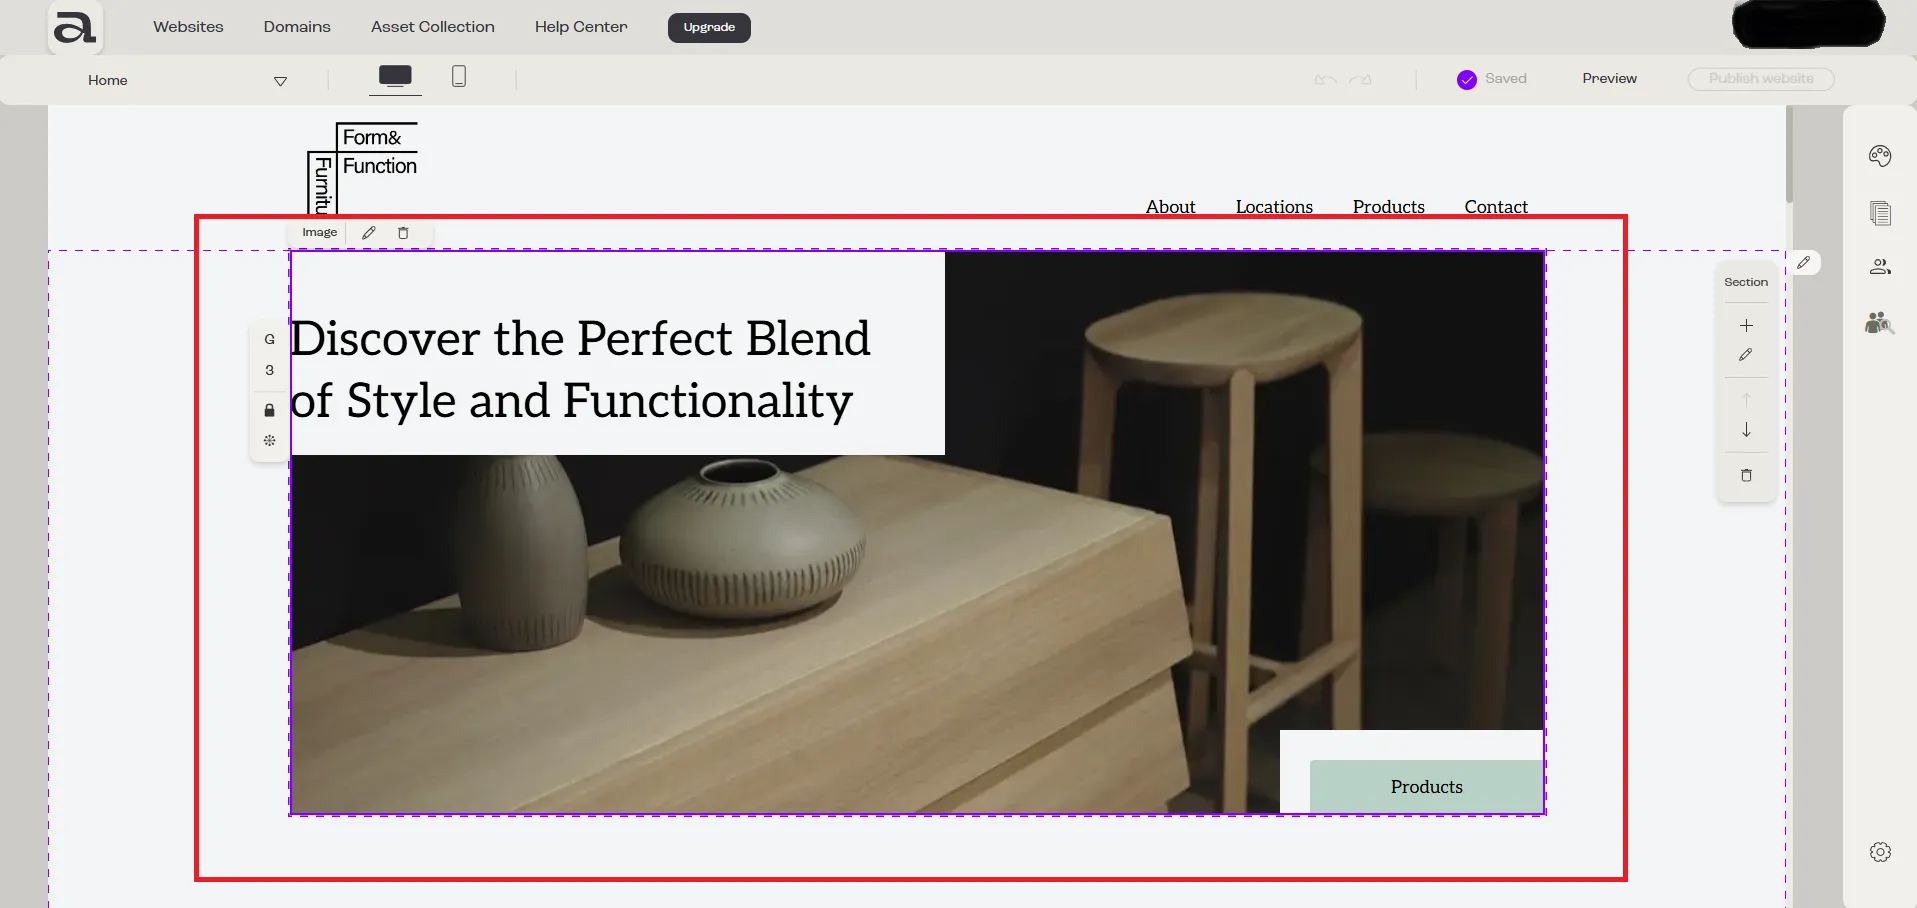
Section titled “Step 1 - Create Group”To create an element group, hold down the Ctrl key and click on each element you want to include in the group.
Once selected, a solid outline will appear around the grouped elements to indicate the group has been created.
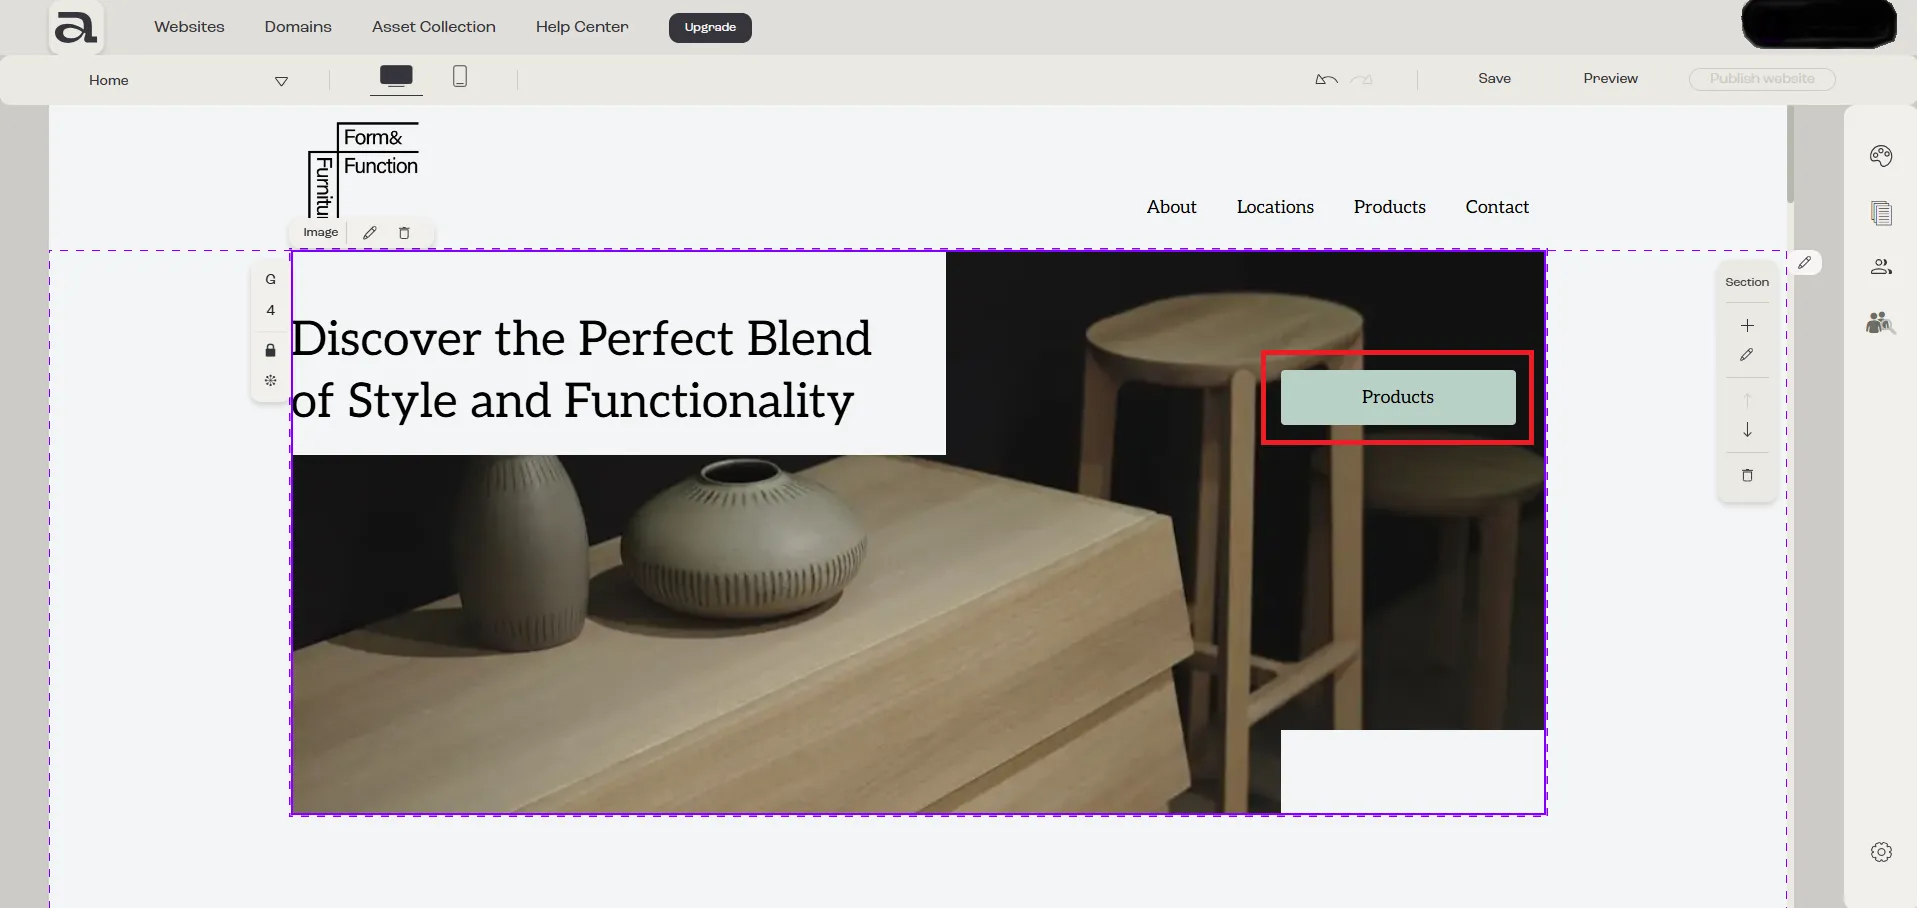
Step 2 - Rearrange Elements Inside Group (Optional)
Section titled “Step 2 - Rearrange Elements Inside Group (Optional)”Within a group, you can rearrange the elements by dragging them into the desired position, as long as the group is not locked.
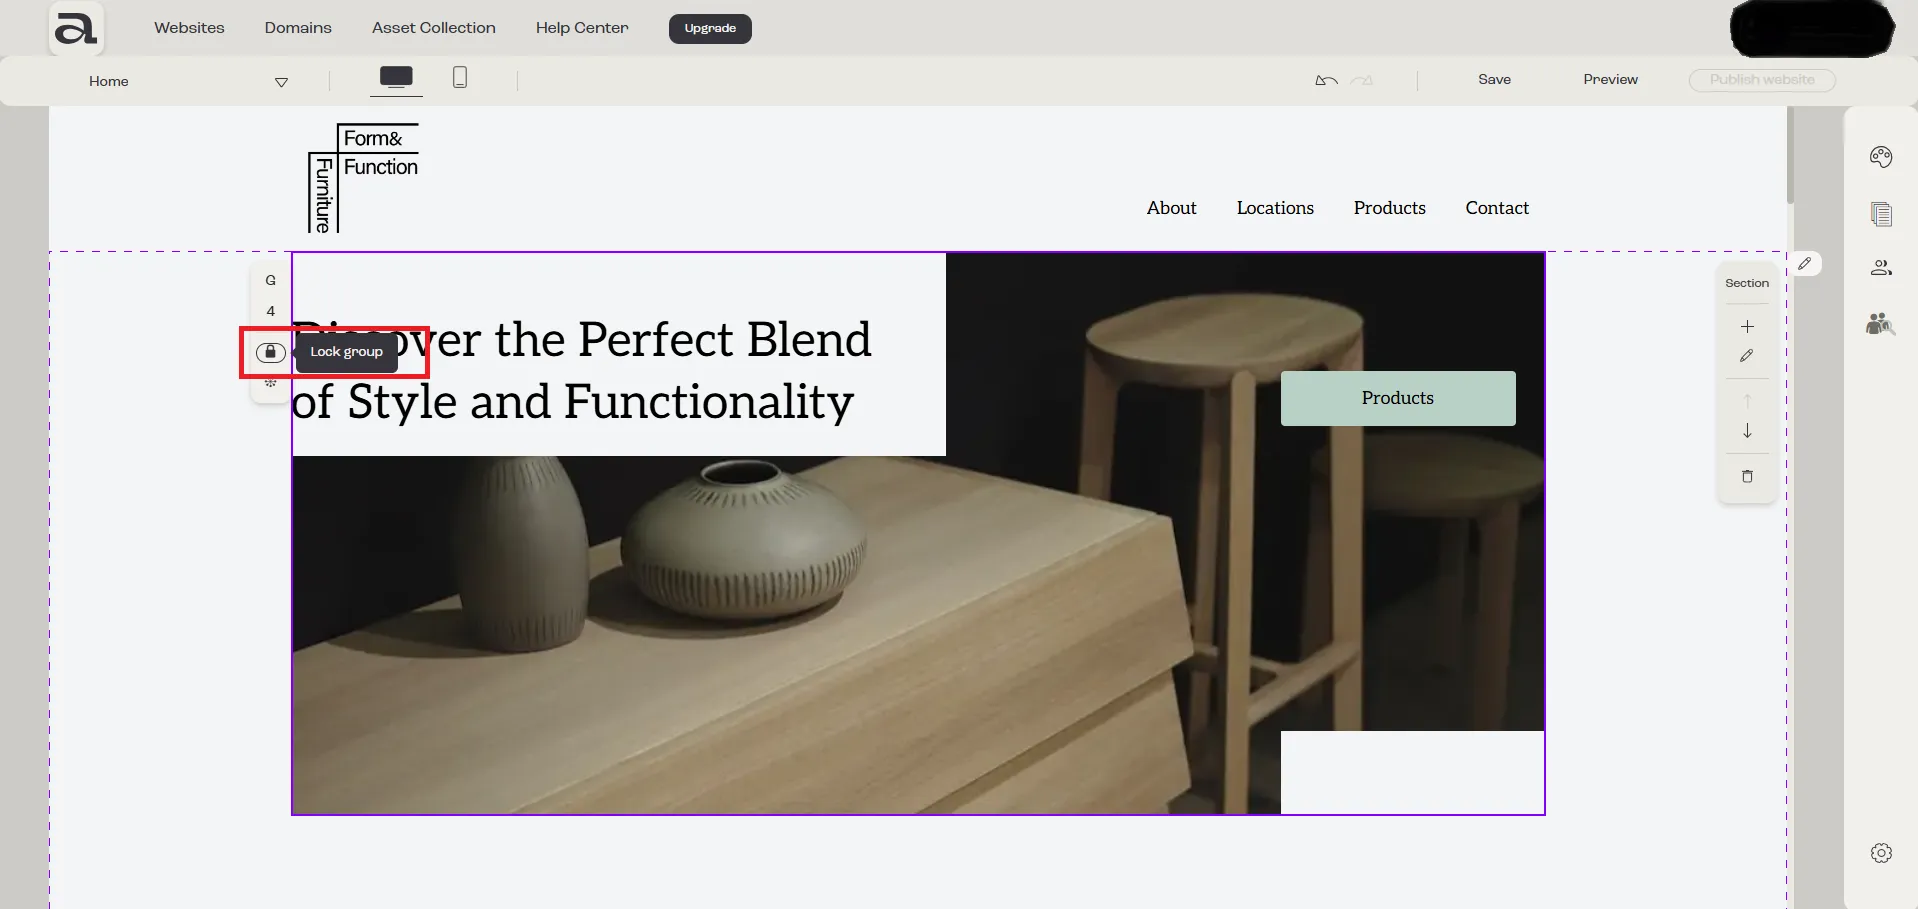
Step 3 - Lock
Section titled “Step 3 - Lock”To move the entire group as one unit, click the “Lock Group” button.
Step 4 - Drag & Drop
Section titled “Step 4 - Drag & Drop”After locking the group, you can drag and reposition it anywhere within the same section. A “Locked” label will appear in the top-right corner of the group.
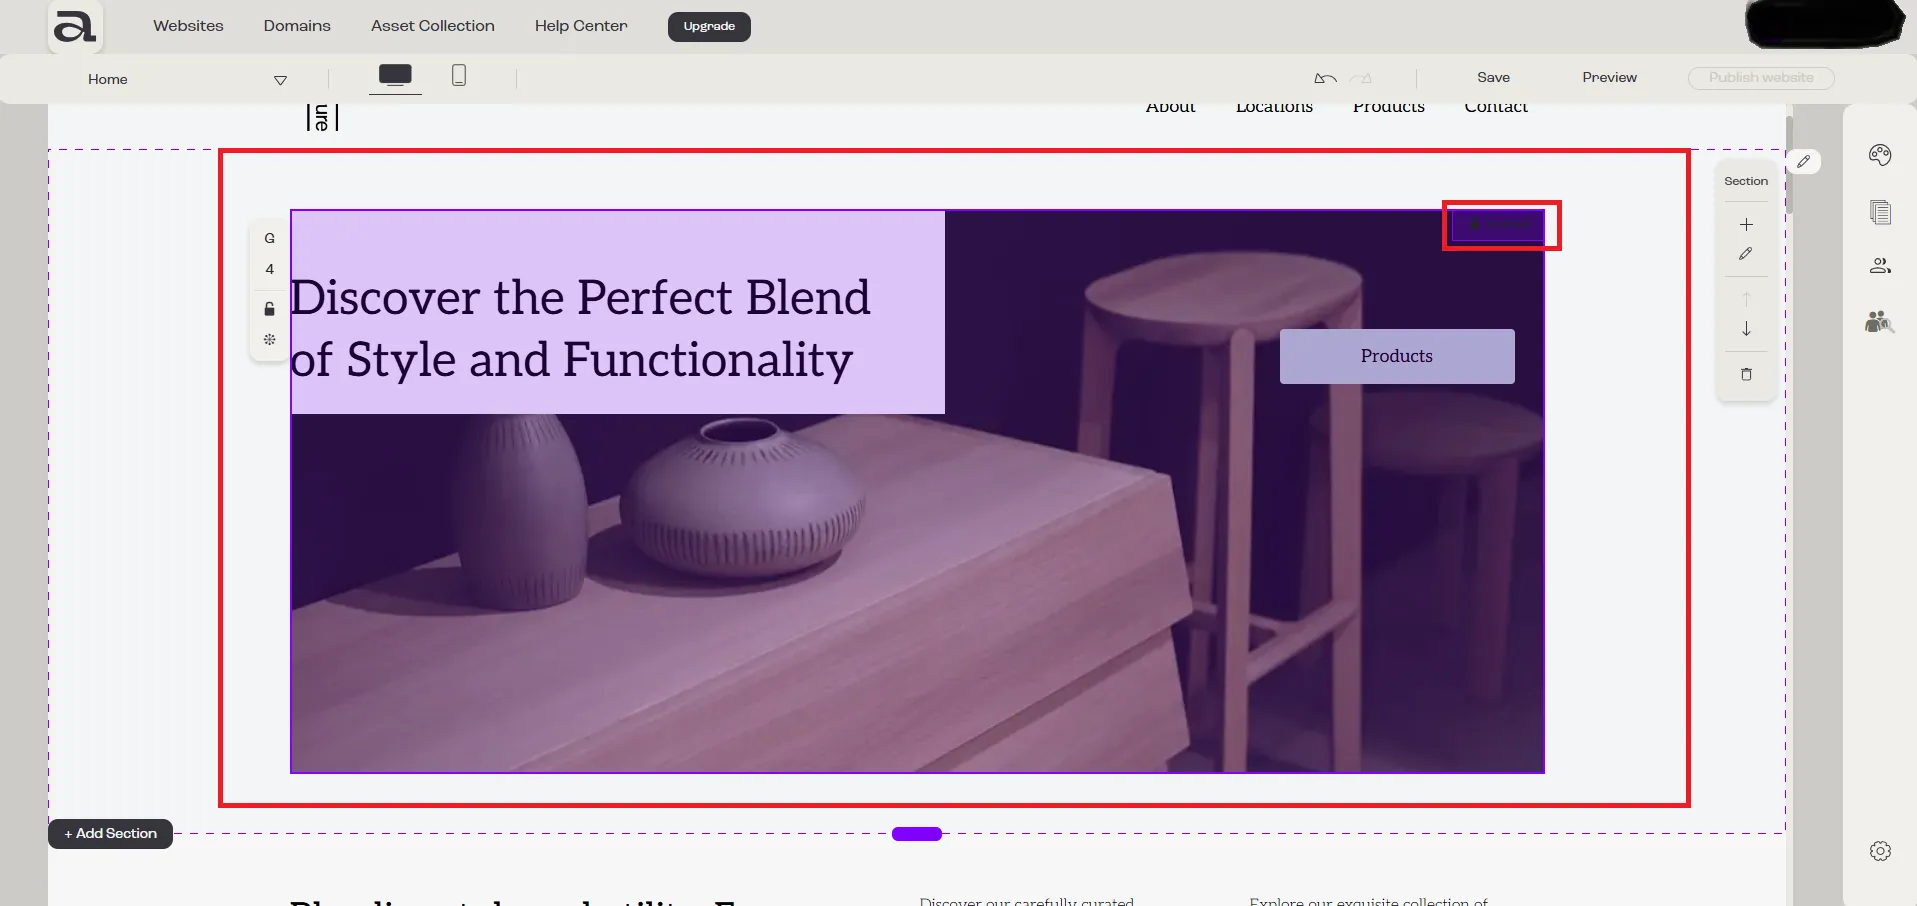
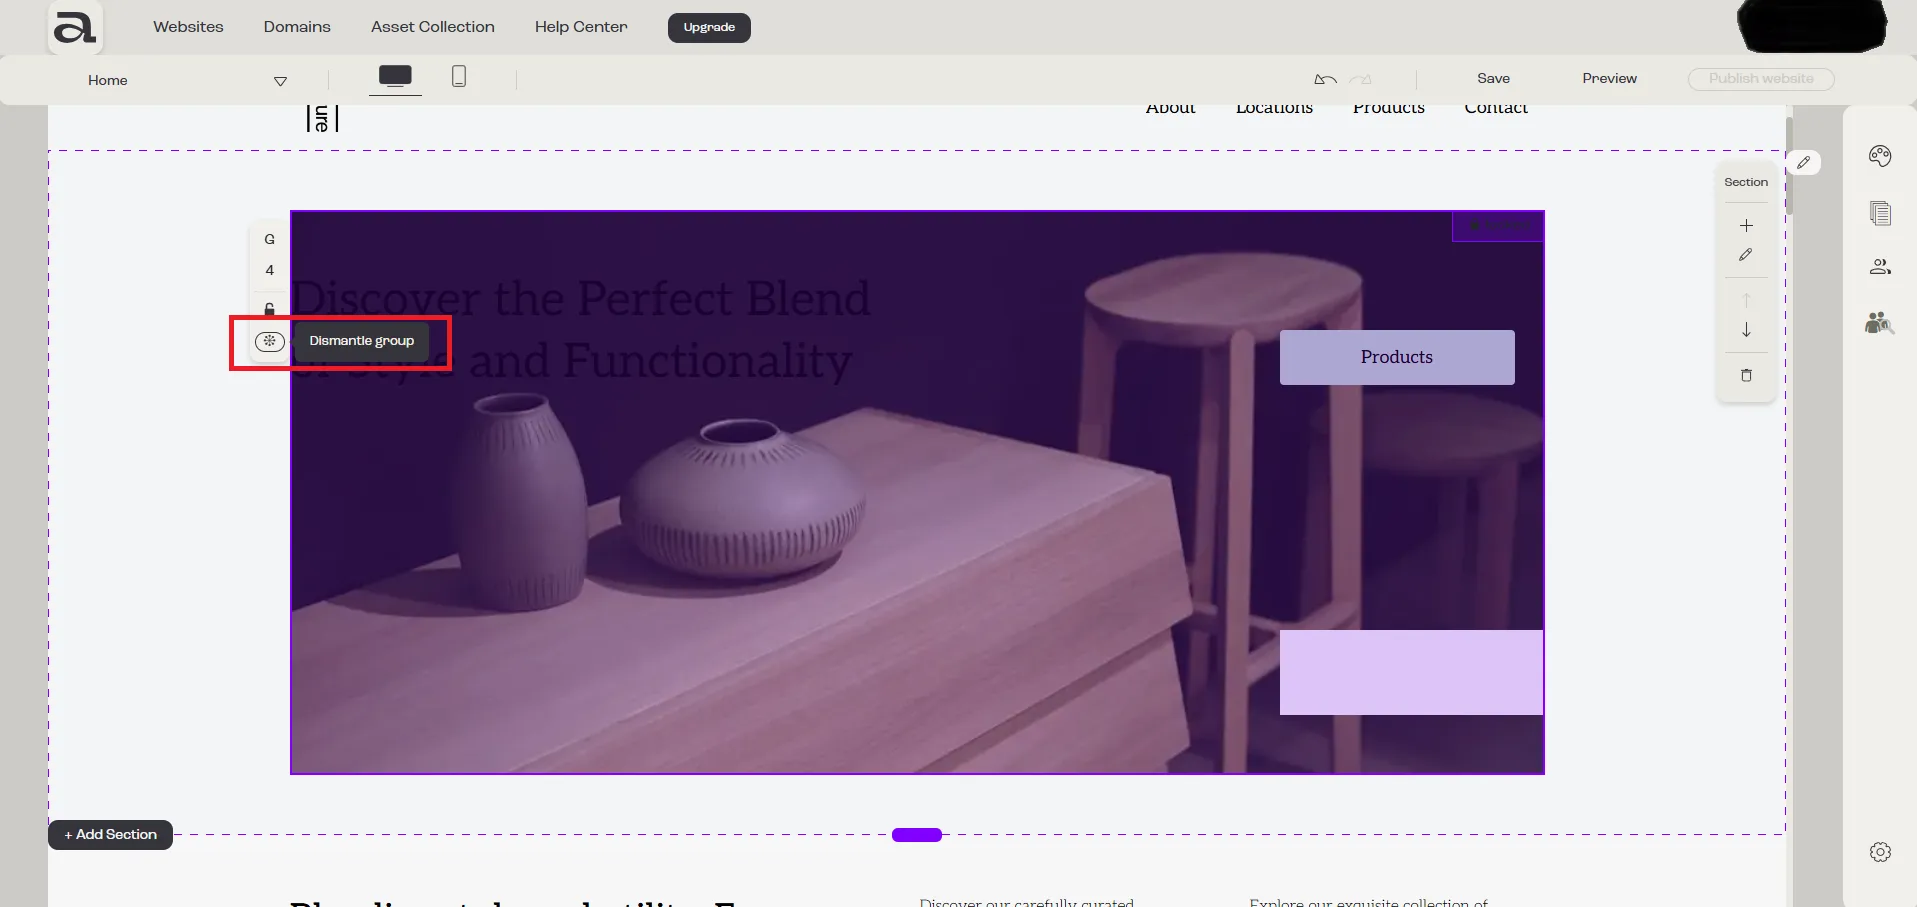
Step 5 - Dismantle
Section titled “Step 5 - Dismantle”To dismantle a group, click the “Dismantle Group” button.